Creating a Risk Registry: A Guide to Managing Risks in your Organization
23 Jun, 2022
If you’re trying to think of ways to improve the quality of your company, a Risk Registry is an excellent place to start. This risk management tool allows you to track and organize all of the risks that your organisation or project faces, so you can take steps to mitigate them.
What is a Risk Registry?
A Risk Registry is commonly shared between project stakeholders to ensure all information is in one accessible place and given serious consideration during the project planning phase. Alternatively known as a Risk Registry Log, it collects information about each identified risk, such as the risk nature, level of impact, the likelihood of it happening, and the response mitigation measures.
Registering Risks is an effective tool that could helps mitigate potential setbacks within a project. While experts use this tool during the execution of the project, the operation aims to cooperatively identify, analyze and solve potential risks before they become problems. You will never be able to anticipate every risk occurrence in a system. Still, by doing due diligence, you can fulfil regulatory compliance and stay on top of potential issues that can delay intended outcomes.
A Risk Registry primarily identifies prospective risks along with their actions, severity, likelihood, and information on how those risks will be treated. The task is usually delegated to the project control function through a review and updating process.
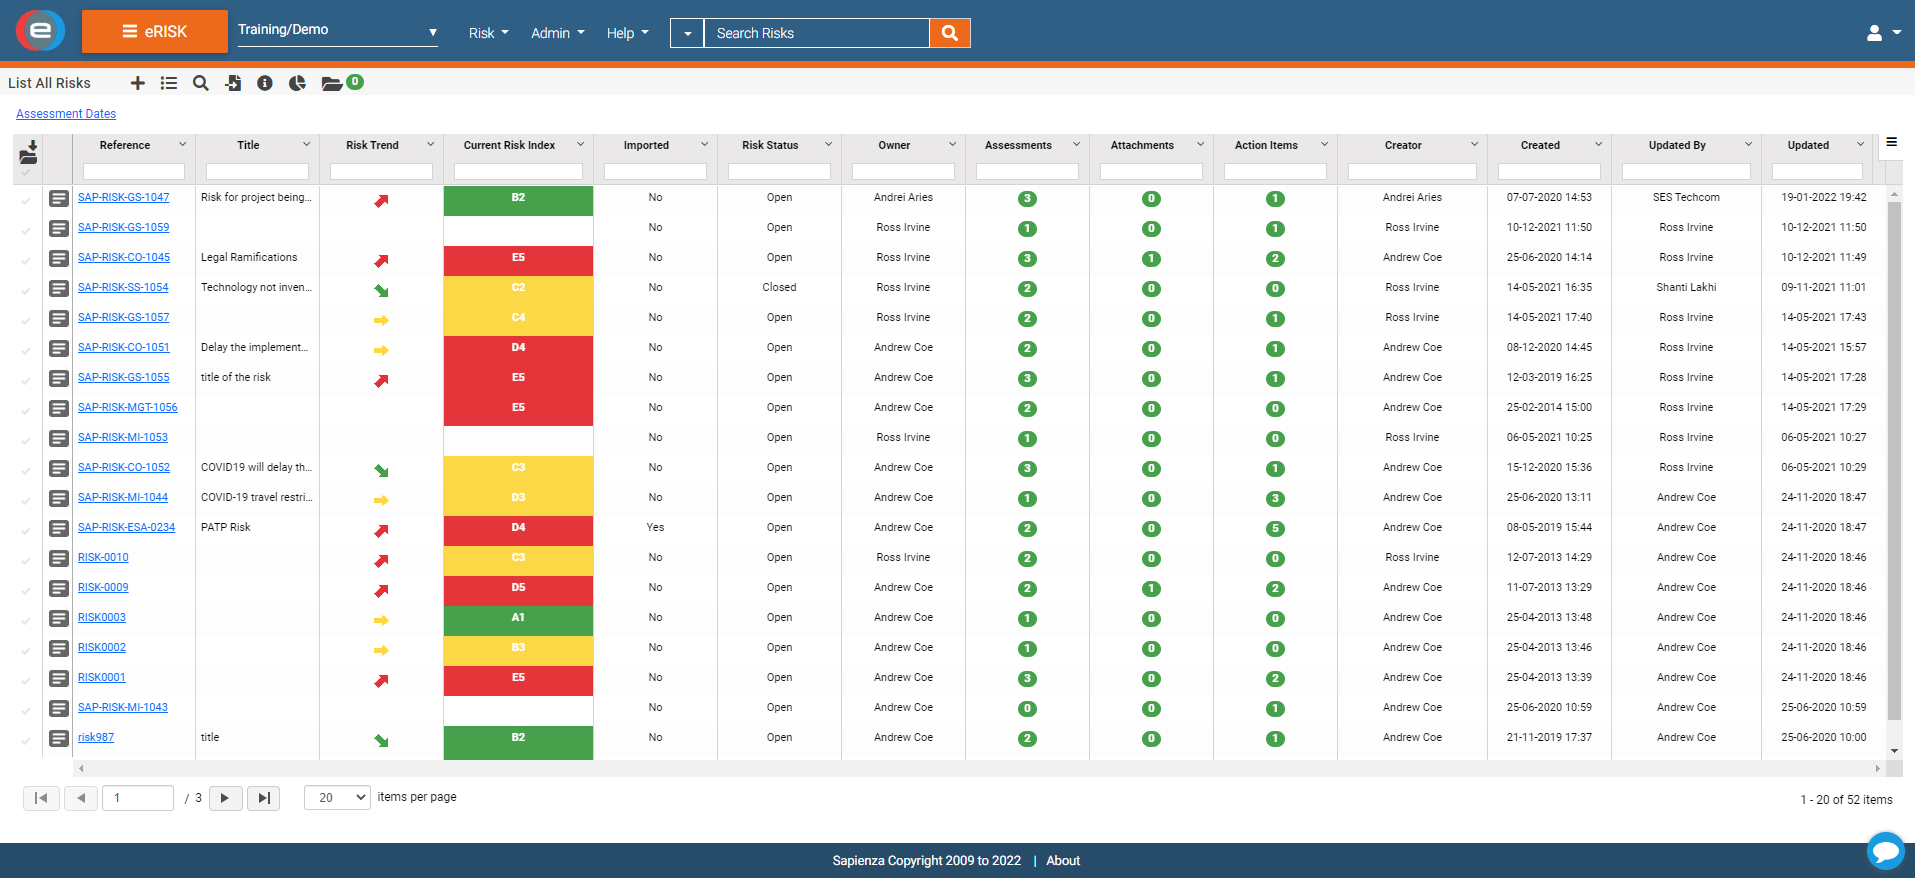
Below is an image of a Risk Registry created with the eNCTS module.
Tasks to create a Risk Registry?
Whether you are a pro or a beginner, creating a Risk Registry can be pretty challenging, particularly regarding the information you need to include and the management of the template. There are several tasks that you need to perform when creating a Risk Registry, including:
1. Identify the Risk
Before anything else, you will need to identify risks. This can be done through brainstorming sessions with your team, looking at previous projects, or doing an inspection or audit. Risk Identification is a process of looking for anything that could potentially cause harm to your project. You can assign different areas of the project to each team member to use their expertise to identify potential risks that could derail the project. You will also want to get the stakeholders involved to avoid concerns and ensure everybody is on the same page.
2. Describe the Risk
Describing the project risk is next. You will want to include the name of the risk, as well as a brief description. The description should be clear and concise so that anybody reading it will understand what is being communicated. The information could be about anything that could potentially go wrong and cause the project to fail. You could also mention the type of risks such as regulatory, material, technical, financial, people, and project management risks.
3. Determine Risk Likelihood
Every identified risk should have a likelihood associated with it. In other words, you will want to determine the probability that the risk will occur. The scale that is generally used is a number scale from 1 to 5, with 1 being the lowest probability and 5 being the highest. You can also use a larger scale if you want to be more specific.
4. Determine Risk Severity
Similar to the likelihood, every identified risk should also have a severity associated with it. In other words, you will want to determine the magnitude of the consequences if the risk were to occur. Here you will use the same scale as the likelihood, a number scale from 1 to 5, with 1 having the lowest consequence and 5 having the highest.
5. Assign Risk Ownership
Assigning each risk to the right team member is necessary for appropriate response and supervision. The risk owner is responsible for ensuring that the mitigate or avoid actions are completed.
6. Determine Risk Priority
From all your identified risks, you will want to determine which ones are the most pressing and need to be addressed first. You can do this by calculating the risk score which is a combination of the likelihood and severity. The higher the score, the higher the priority.
7. Create Risk Mitigation and Response Plan
This is where you will develop mitigation and response strategies. A mitigation strategy is a proactive approach that seeks to reduce the probability or severity of a risk occurring.
This plan should contain preventive actions as well as contingency plans. Preventive actions are measures that should be taken to avoid the occurrence of the risk. Contingency plans, on the other hand, are measures that should be taken if the risk does occur.

How do you build a Risk Registry?
A Risk Registry is a table or database that is used to store information about risks. The registry should include the following information for each risk.
- Risk Identification: This identification field includes the risk title and reference data.
- Risk Creator: The individual that created the risk registry entry.
- Risk Description: A brief log description explaining a short and high-level overview of the risk and why it is a potential issue.
- Risk Analysis: The primary purpose of the risk analysis section is to determine the impact probability of a risk. Attach document links or photos to support your analysis.
- Risk Ownership: The risk ownership field can include the individuals assigned to oversee the strategy implementation and any additional members that are applicable.
- Impact Date: The date the risk will have an impact on the project if it materializes.
- Risk Likelihood: A number on a scale that identifies how likely it is for the risk to occur. The smallest number is for the least likely to occur and the highest number is for the most likely to occur.
- Risk Severity: A number on a scale that identifies the potential severity of the risk if it does occur. Small being the least severe and high being the most severe.
- Risk Domain: The area of the project in which the risk lies. There can be multiple domains for each risk. Such as technical, schedule, cost, resources, performance, and quality. For each domain, you can select a risk owner likelihood and severity.
- Risk Priority: Priority in your entry log should consider both the likelihood and the risk analysis. A risk score for each risk is obtained by multiplying the risk severity and likelihood values with quantitative measurements.
- Risk Trend: Risks that are not resolved in due time can become chronic and continuously affect the project. To avoid this, you need to establish a risk trend for each item in your registry. The risk might escalate, de-escalate, remain the same, or be resolved.
- Risk Mitigation Plan: A risk response plan is vital in your risk registry. Risk mitigation is an action plan that should include a systematic method to reduce the risk and a brief description of the intended outcome and how the program will affect the impact.
- Risk Status: The last field communicates the mitigation successes or failures. Active options such as Open, in Progress, and Closed are used to differentiate the risk progress.
What are the benefits of having a Risk Registry?
The clever benefits of a standardized risk registry help you manage their complexities, making your projects more flexible and less risky. Other robust benefits include:
- Decreased exposure to potential risks
- Efficient management of current risks
- Improved communication of risks to all project stakeholders
- The ability to transfer risk ownership when necessary
- Ability to track and monitor the status of each risk over time
- Establishing project risk baselines for comparisons
- Aiding in the development of lessons learned
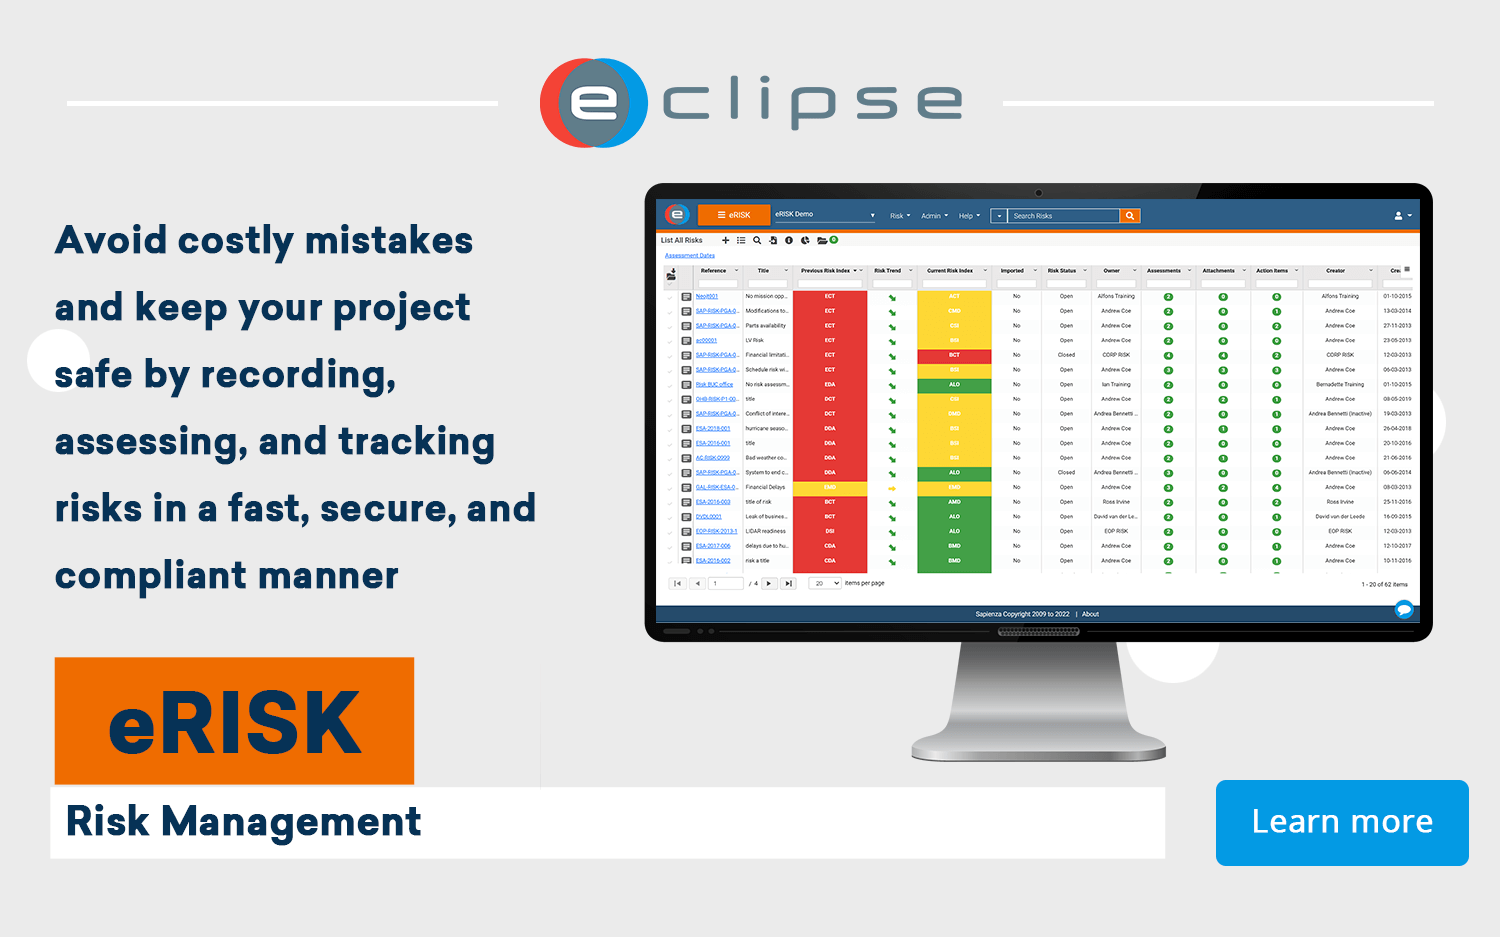
The Risk Registry Software of ECLIPSE Software Suite
ECLIPSE Software Suite has a comprehensive and effective solution for automating the risk management process. It is equipped with eRISK which has all the features necessary to manage your risks from start to finish.